As an Amazon Associate I earn from qualifying purchases.
Pressure treated wood is becoming increasingly popular for outdoor construction projects thanks to its durability and resistance to rot, mold, and insects. However, pressure treated lumber contains a significant amount of excess moisture from the treatment process. Using wet pressure treated wood can lead to warping, cracking, and an increased chance of mold growth. That’s why it’s important to understand how to quickly dry pressure treated wood to ensure it is ready for use in your project.
Overview of Pressure Treated Wood
Pressure treated wood has been impregnated with chemical preservatives through a process called pressure impregnation. During this process, the wood soaks up hydrated preservative chemicals deep into the cellular structure. Pressure treated lumber is commonly used for decking, fencing, retaining walls, and other outdoor applications where rot resistance and longevity are key.
Some common types of pressure treated wood include:
- Southern yellow pine treated with chromate copper arsenate (CCA): This was the most extensively used pressure treating chemical for many decades. CCA contains chromium, copper, and arsenic compounds blended into an aqueous solution. The metals bond to the wood cells to resist fungal decay and insect attack. While highly effective, CCA treatment chemicals have been phased out for residential use due to concerns over arsenic leaching. It has been replaced by copper-based formulations.
- Douglas fir treated with alkaline copper quaternary (ACQ): This newer water-based treatment utilizes a blend of copper and quaternary ammonium compounds. The copper protects against rot and fungi while the quaternary ammonium deters termites and other insects. ACQ pressure treated wood has become the most common residential exterior lumber.
- Southern yellow pine treated with copper azole (CA): This amine copper preservative gained popularity after CCA was phased out. The copper provides mold, rot, and fungus protection. The added azole compounds help resist insect damage.
- Redwood, cedar, and pine treated with copper naphthenate (CuN): This oil-based copper solution allows deeper penetration in certain wood species like redwood and cedar. It resists fungal decay and insects. Requires additional drying time.
Other specialized preservatives are also used for certain applications like Ammoniacal Copper Zinc Arsenate (ACZA) and Creosote for heavy outdoor use. But CCA, ACQ, CA, and CuN cover most common residential pressure treated lumber.
The key point is that the treatment provides resistance against termites, carpenter ants, rot, and fungal decay, which is why pressure treated wood is ideal for deck, fence and landscape projects.
However, all that excess moisture absorbed into the wood during the pressure treatment process needs to fully dry out before the lumber is ready for use in construction. Using wood with high internal moisture content can result in warping, cupping, checking, and nail popping as the wood dries out later after installation. It also provides favorable conditions for mold growth if used when wet.
Why Does Pressure Treated Wood Have So Much Moisture?
To understand why pressure treated lumber contains so much moisture, it helps to learn a little more about the pressure treatment process.
During treatment, planks of wood are loaded into a long horizontal cylinder called a retort. The preservative chemicals are then introduced under very high pressure, typically 100-150 psi. This forces the liquid preservative deep into the wood cellular structure to fully saturate the boards.
The solutions used are water-based, so they do contain a significant amount of moisture. But the extremely high pressure applied during impregnation physically compacts moisture into the wood as well. This results in lumber that can be 30-60% heavier after treatment due to the water weight alone.
Additionally, most pressure treatment facilities utilize a process called incising beforehand. Incising machines make a series of small slits across the faces of each board before treatment. This allows deeper penetration of chemicals across the thickness of each plank. It also forces more moisture into the wood under pressure.
All of this excess water must be slowly removed to return the wood to a stable, useable state for building. Manufacturers and suppliers typically do not ship treated lumber that is considered “dry” by most standards. More drying is needed before you should use pressure treated wood for your project.
Problems With Using Wet Pressure Treated Wood
It’s tempting to start building as soon as you purchase some nice pressure treated lumber for your new deck or patio cover. But constructing anything with wet wood can lead to some frustrating problems during and after assembly:
- Warping and twisting – As wet wood dries, uneven shrinkage can bend boards out of shape resulting in warped or distorted lumber. Using warped boards leads to an uneven, wavy finished product.
- Cupping – The wet wood can develop raised areas across the faces of boards as they dry unevenly. This effect is called cupping, and it makes attachment and finishing more difficult.
- Splitting and checking – Wet lumber is prone to splitting down the length of planks or checking across the end grain as moisture escapes. These cracks create weaknesses and can continue spreading later on.
- Nail and screw popping – As wet wood dries and shrinks, this movement can push out and pop nails, screws, and other fasteners that seemed secure when first installed. Popping makes for a bumpy surface and loose structural connections.
- Discoloration and fading – Using wood while still wet can exacerbate uneven absorption of applied stains and finishes. This leads to an unsightly blotchy appearance as the project ages.
- Mold and mildew – The excess moisture provides ideal conditions for fungal growth, potentially leading to unattractive black or green mold colonies developing on your wood project.
Clearly it’s worth the wait to properly dry pressure treated lumber first before building with it. So what are the best methods for drying treated wood?
Methods for Drying Pressure Treated Lumber
There are two primary methods available for drying pressure treated wood: air drying and kiln drying. The right approach depends on your timeline, budget, and drying equipment available.
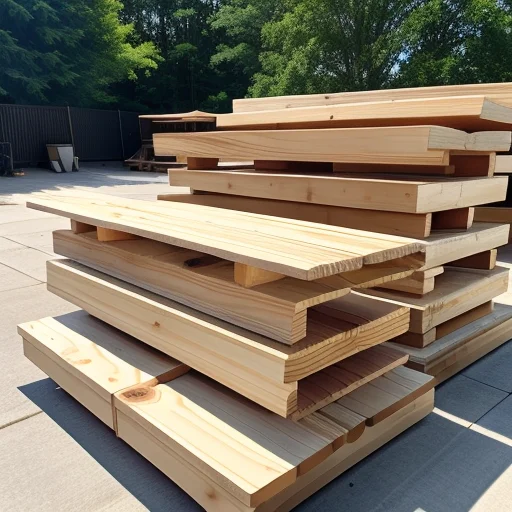
Air Drying Pressure Treated Wood

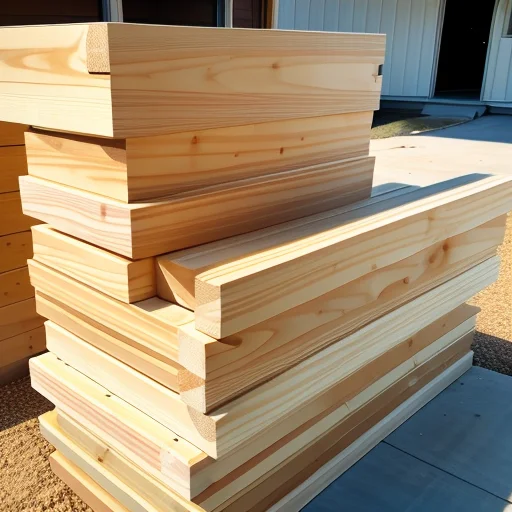
Air drying is the most commonly used drying method for pressure treated lumber. It relies on natural airflow and ventilation to gradually remove moisture from the boards over time.
To speed air drying, the basic steps involve:
- Stack boards in open arrangements that maximize airflow exposure on all sides of each plank.
- Elevate stacks on dunnage or spacers to allow airflow under and around the pile.
- Choose covered areas protected from rain, but open to breezes and sunlight.
- Use fans and dehumidifiers around the stack to keep air circulating continuously.
- Allow sufficient time for drying based on lumber thickness, temperature, and humidity.
Proper air drying can still take 30-60 days on average depending on conditions. Thicker wood needs even more time. But the process is simple and straightforward for anyone to complete at home with minimal cost.
Key Factors That Affect Air Drying Times
Several variables impact how quickly pressure treated lumber will dry through air drying:
- Board thickness – Thicker lumber takes exponentially longer to dry than thinner boards. A 2×4 dries much faster than a 4×4 post of equivalent length.
- Temperature – Warm conditions accelerate evaporation, so drying will be faster in hotter weather. Slows down significantly in cooler temperatures.
- Humidity – Lower relative humidity allows moisture to evaporate faster. High humidity impedes drying.
- Airflow – Good airflow across all surfaces of the wood pile maximizes moisture dissipation. Stagnant air dramatically slows drying.
- Surface area – Boards stacked openly with spacers expose more surface area to air, accelerating moisture release.
- Wood species – Less dense “open grain” woods like pine tend to dry faster than dense “closed grain” hardwoods.
With the right techniques, you can significantly speed up the air drying process. But for even faster results, kiln drying is a great option.
Kiln Drying Pressure Treated Lumber
Kiln drying uses controlled heat and airflow to rapidly “bake” moisture out of wood. While air drying relies on ambient conditions, kiln drying actively regulates temperature, humidity, and airflow to optimize drying speed.
The increased heat accelerates evaporation from the wood cells, while large fans maintain even airflow around the stacked lumber. Humidity is carefully regulated to prevent too-fast drying that could damage the wood.
The drying schedule and operating parameters are customized based on the wood species, thickness, target moisture content, and other factors. Some softwoods like pine can be kiln dried in less than 10 days, compared to 30-60 days for air drying.
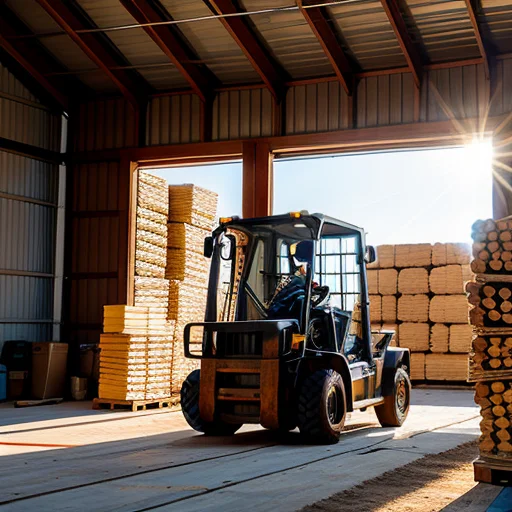
Professional kiln drying does require specialized equipment and trained operators. Lumber mills and treatment facilities utilize large-scale dehumidification kilns to dry massive batches of wood.
For an at-home woodworking enthusiast, small electric kilns are available at reasonable cost. These mini-kilns can handle smaller stacks of lumber. With some testing and practice, a DIY woodworker can operate a compact kiln with excellent results.
If access to a kiln is not feasible, the air drying techniques in the next section can still significantly accelerate moisture removal. But where fast project timelines are needed, kiln drying is the best way to rapidly dry pressure treated lumber.
Step-by-Step Guide to Accelerate Air Drying
While air drying pressure treated wood takes more time than kiln drying, you can take steps to dramatically speed up the process:
Choose an Open, Well-Ventilated Area
Proper airflow is key, so select a covered spot that allows free air movement from all sides. Avoid enclosed areas like garages or sheds unless large doors can be left open. Circulation is needed to carry moisture away.
Stack Lumber on Spacers or Dunnnage
Elevate the stack above the ground using 2×4 spacers or dunnage blocks. This allows air circulation underneath the pile rather than trapping moisture. Create gaps between each board for maximum airflow.
Use Multiple Fans to Maximize Airflow
Use box fans, floor fans, or axial fans positioned to keep air moving through the wood pile 24 hours a day. Constant airflow accelerates evaporation. Turn fans to provide crossflow across the stack.
Place Stacks in Direct Sunlight
The radiant heat from sunlight warms the wood, causing moisture to turn to vapor faster. Place stacks in sunny spots during the day, or use clear plastic sheeting above the stack to create a greenhouse effect.
Use a Dehumidifier to Actively Dry the Air
A dehumidifier will actively draw moisture out of the surrounding air. The drier the ambient conditions, the faster the wood releases internal moisture into the environment. Place the dehumidifier near the drying lumber.
Allow Sufficient Drying Time
Even with optimal air drying conditions, drying still takes time. Leave the lumber for at least 4-6 weeks for 2x4s, longer for thicker wood. Periodically measure moisture content until it drops below 15%.
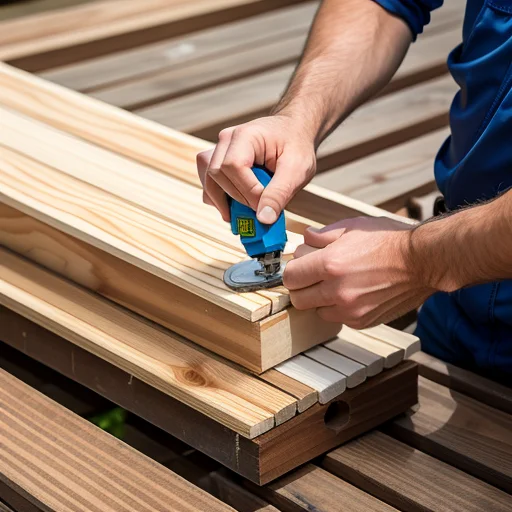
Lightly Sand Surfaces
Sanding exposes fresh wood cells, allowing moisture to escape better compared to mill-cut surfaces. Lightly sanding opens the grain to release moisture faster.
Apply an Oil-Based Wood Finish
Penetrating finishes like tung oil can displace moisture in wood and speed its evaporation. After sufficient drying time, apply a coat to help release any remaining excess moisture.
By following these tips, you can rapidly air dry pressure treated lumber in a fraction of the normal time required.
Seasoning: The Importance of Stabilizing Moisture Content
In addition to actively drying pressure treated wood to remove excess moisture, it’s highly recommended to allow an additional period for seasoning afterwards.
What is seasoning, and why is it an important step?
Seasoning means allowing the lumber to sit for an extended period under cover after drying is complete. This allows time for moisture levels inside the boards to stabilize and equalize throughout the wood cells.
Pressure treated lumber is dried to remove excess water from the treatment process. But freshly dried wood can still have uneven pockets of moisture within boards. One area may measure 18% moisture while another section is down to 12%.
During seasoning, these uneven moisture levels interact and normalize across the wood. Moisture slowly migrates from wetter zones to drier areas until it evens out. This equalization is crucial for stability.
After active drying is complete, allow a seasoning period about 1-2 weeks per inch of board thickness before use in construction.
For example:
- 2×4 lumber: Season for 1-2 weeks
- 2×6 lumber: Season for 2-3 weeks
- 4×4 posts: Season for 4-5 weeks
This seasoning duration gives moisture levels time to stabilize throughout the boards. Significant moisture pockets are eliminated.
The result is lumber ready for service with a consistent moisture content that resists further shrinkage or warping after installation. Seasoning is just as important as initial drying.
Measuring Moisture Content with a Moisture Meter

How can you accurately determine when pressure treated lumber is fully dried and seasoned enough for use in projects?
A moisture meter is the most reliable tool for checking internal moisture levels in wood. This specialized device uses metal pins to measure the electrical resistance across a board. The amount of resistance indicates the moisture content percentage.
To test lumber with a moisture meter:
- Push the probe pins into the wood at least 1 inch from any edge. Avoid measuring near the surface.
- Take readings from multiple areas to get an average moisture content. The outer shell may feel dry while the core still holds moisture.
- Test several planks from a stack. Separate boards can vary widely in dryness.
- Look for moisture meter readings of 15% or less when drying is complete. This indicates the wood is ready for construction.
The lowest boards in a stack often dry significantly faster than upper layers since moisture drips down through the pile. Test different levels to find the driest lumber to use first when building projects.
Target Moisture Content Levels for Construction
What exact moisture content levels should you look for before using pressure treated wood in decking, framing, or siding applications?
Experts recommend 15% moisture content or less for the best results across most outdoor construction projects. Here are some specific moisture content guidelines:
- Decking boards: Look for 14-15% moisture content or lower. Higher moisture can lead to shrinkage gaps as boards dry later.
- Framing lumber: Up to 17-18% MC is workable for framing if additional drying during construction is expected before enclosure.
- Siding and trim: These boards require 15% MC or less to prevent shrinkage or distortion issues after installation.
- Log construction: Logs often assemble at higher 18-22% MC levels as long as the shell is below 15%. Further drying after building is typical.
- Interior trim and molding: Requires 8-10% MC for interior stability.
The key is allowing pressure treated wood to fully dry and season to appropriate MC levels before cutting and assembly. This prevents moisture issues down the road as projects age.
For most exterior applications, target 15% moisture content or lower for best results across decking, fencing, siding, and landscape projects.
Using Partially Dry Pressure Treated Wood
What if you need to start your project but the pressure treated lumber is not fully dry yet?
Many homeowners face this, as air drying can easily take several weeks to lower moisture content adequately for use.
While not ideal, you can use partially dried lumber with caution:
- Anchor it well: Secure boards and framing tightly with an adequate number of fasteners while drying continues during assembly. This helps minimize warping.
- Expect further shrinkage: Allow extra space between boards to account for additional shrinking as remaining moisture evaporates.
- Check moisture content: Use a moisture meter to verify boards are at least below 25% MC before installation. Even partially dried wood is far better than using completely saturated green lumber.
- Add weight: Stack additional materials like paver stones or concrete blocks on decking overnight while drying continues. The extra weight limits bowing.
- Seal promptly: Apply water-repellent finish to wood surfaces quickly after assembly to slow further drying.
- Enclose fast: Wrapping a shelter around framing limits further moisture changes after assembly.
While not ideal, starting with wood that is partially along in the drying process can work. Take extra precautions from assembly through finishing to allow for additional shrinkage as remaining excess moisture dissipates. You can also make a wood look like a paper.
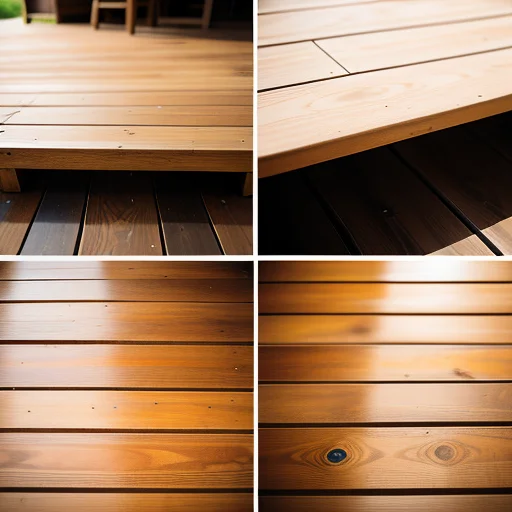
Applying a Protective Finish to Newly Dried Wood
Once your pressure treated lumber is fully dried and seasoned to safe moisture levels for use, applying a protective finish is recommended:
Why apply a finish?*
- Helps repel water to limit re-absorption of moisture
- Reduces changes in wood moisture content after installation
- Minimizes further checking and splitting
- Provides UV protection against graying and wood cell breakdown
- Allows desired color tint or opaque stained appearance
- Enhances longevity of wood against weathering
When to apply?
Ideally, coating dried lumber 1-2 weeks before construction provides maximum protection. This allows full cure of the finish.
Alternatively, apply fast after assembly before exposure to rain. Quick application limits moisture changes in new wood before a repellent finish can be added.
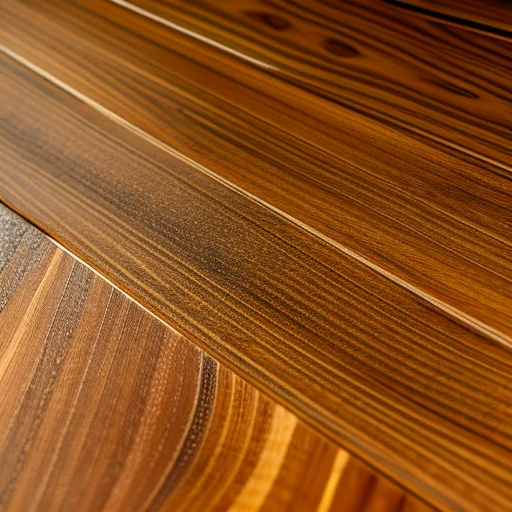
What types of finishes work well?
- Oil-based finishes provide the best moisture protection. The oils penetrate deep into the wood grain to displace moisture. Tung oil, boiled linseed oil, and semi-transparent stains perform well.
- Wood sealers containing paraffin, silicones, or resins seal the surface against moisture intrusion. Look for water-repellent wood sealers.
- Latex or acrylic paints form a breathable barrier. Limit sun exposure until fully cured. Gloss sheens are more effective than flat.
- Opaque stains with synthetic binders allow color change while sealing the wood surface.
Use finishing products designed for exterior wood that offer weather and UV resistance. Follow application instructions closely.
Properly coating your dried
As an Amazon Associate I earn from qualifying purchases.